How Do Tub-to-Shower Conversions Work?
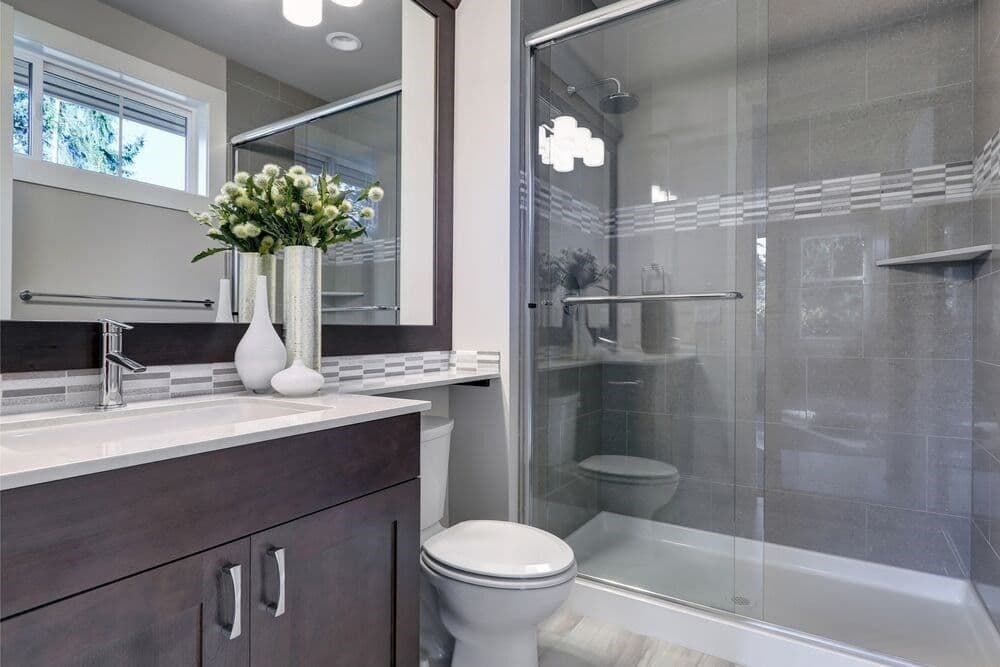
Stepping into a hot shower at the end of a long day feels like a luxury to anyone. Just the sound of running water is a stress reliever. It is a relaxing way to mentally prepare for the rest of the evening, allowing time to unwind and clean up faster than bathing in a tub.
Boston homeowners are taking steps to upgrade their old tubs into stand-alone showers.
How does this process work, and how do you determine if this change is suitable for your home? Begin by talking to an expert in Boston that can walk you through the process, from permitting to completion, of how tub-to-shower conversions work.
Choosing a Shower Over a Tub
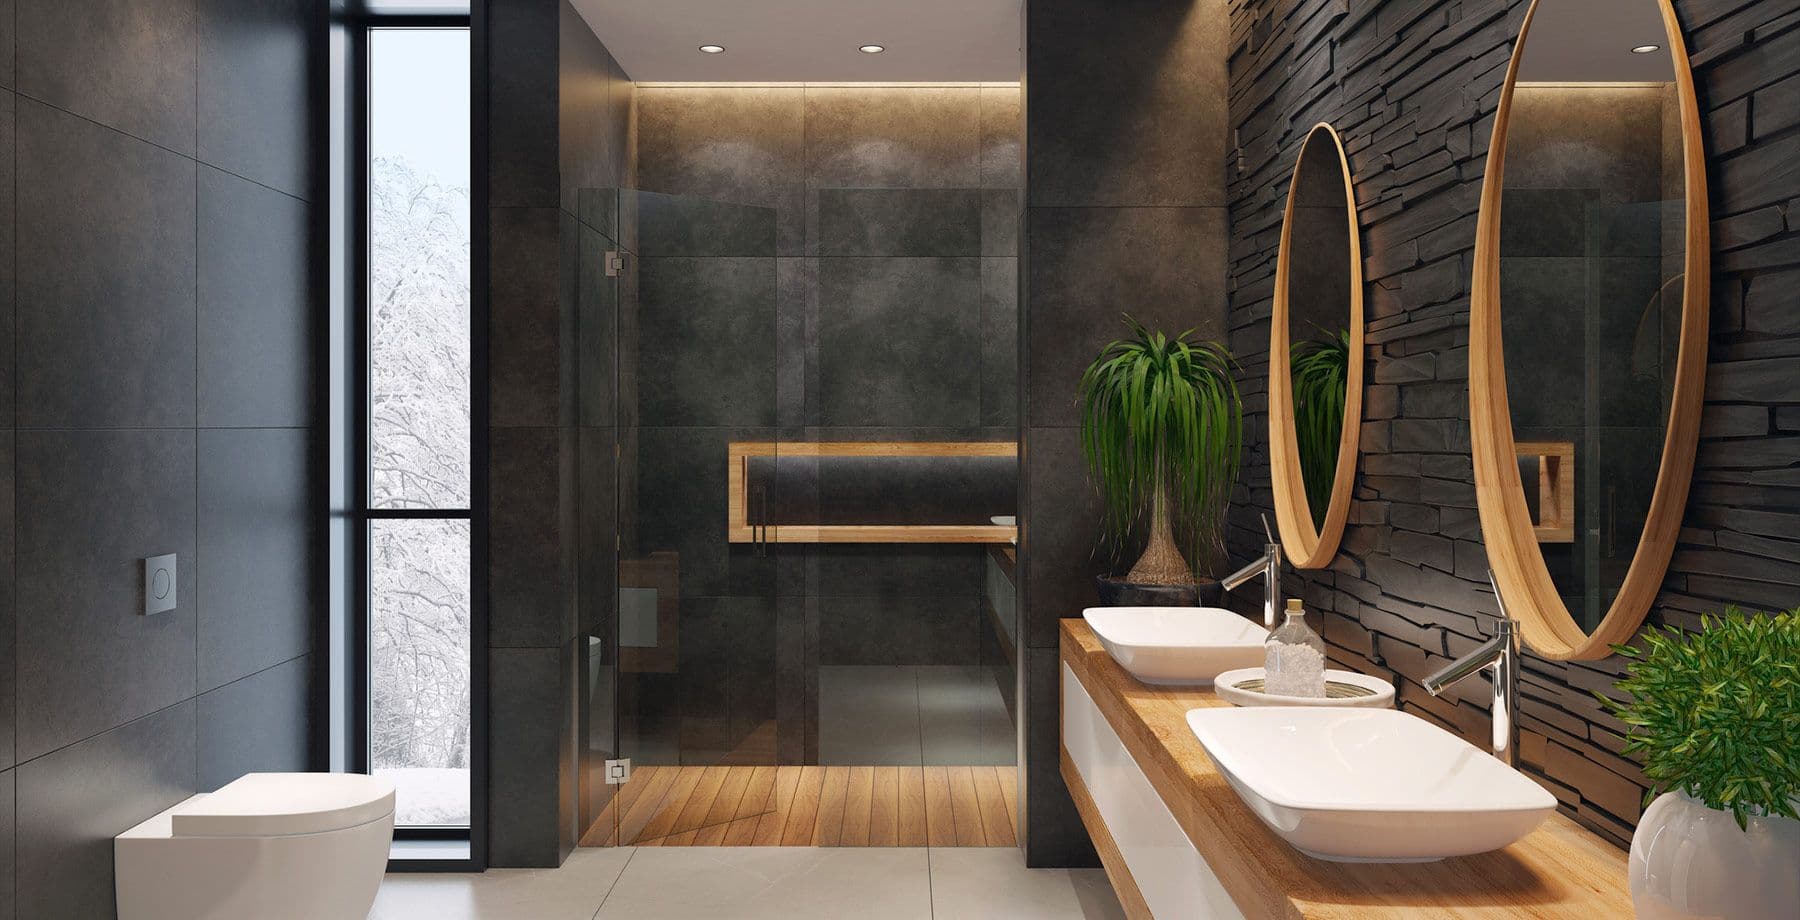
Updating the bathroom is a great way to improve the enjoyment and equity of a home. Choosing a stand-alone shower over a bathtub is aesthetically appealing because it changes the dynamic of a room, usually limited by space and structural restrictions because of existing plumbing. Here are a few more reasons homeowners choose a shower over a tub.
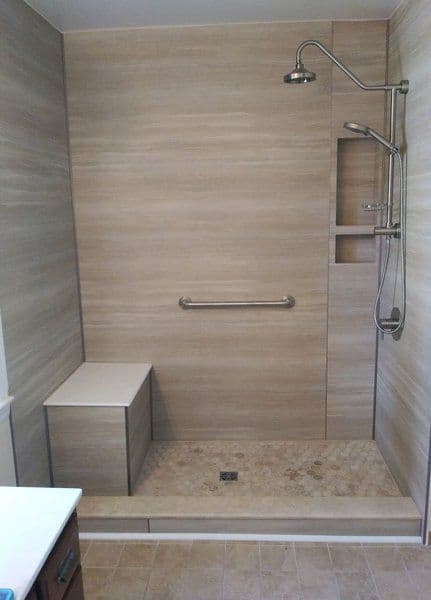
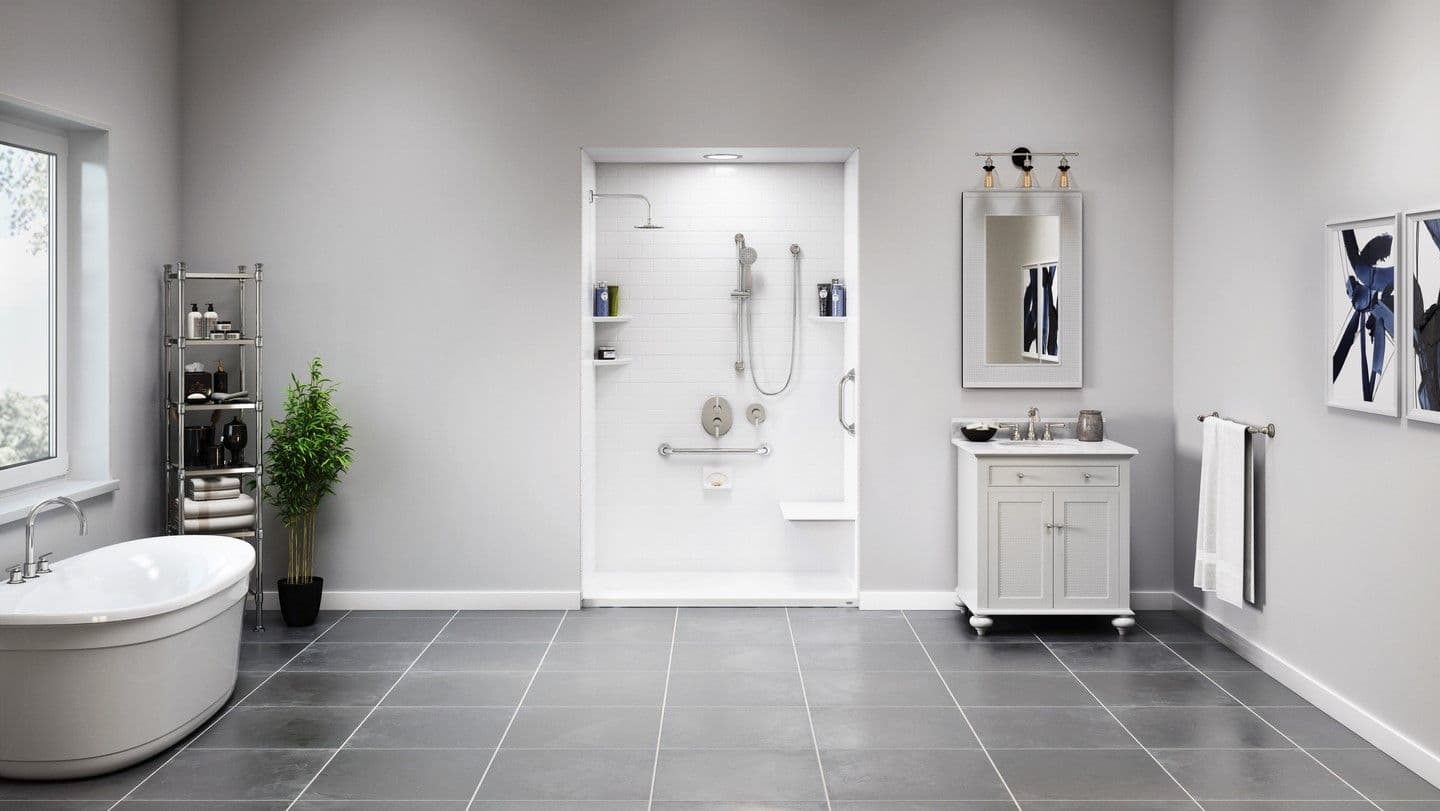
- Ease of use: As individuals age, mobility needs change. Accessing a shower space without stepping over a rise dramatically reduces the risk of falls. Showers are also easier to access if you use a mobility device such as a wheelchair or walker or prefer a shower seat, making it easier to get up and sit down.
- A cleaner result: Showering allows soaps, shampoos, and dirt to continually rinse off the body allowing for immediate draining instead of creating a residue in bath water. You can wash and rinse at the same time.
- Lower utility bills: Showering versus filling a bathtub not only helps reduce water use but powerage by heating less.
- Cleaning: Cleaning a shower generally takes less time as body oils, soaps, and dirt are washed from the surface instead of collecting on the sides of tubs, making a ring effect.
Converting a Tub to a Shower
When converting your tub to a shower, consider the look and feel you want to achieve. Deciding on the materials before the conversion begins will have your bathroom functioning again sooner. The cost of the conversion is determined by material choice and any modifications made to the structure supporting the new shower installation.
It is also important to consider the size of your shower and keep in mind that most tubs standard measurements are 60 inches. . The easiest way to proceed is by making your new shower fit the existing layout of your tub, reducing the need for wall modifications.
However, suppose you’re also looking to add storage space. In that case, you may want to consider adding a wall, shortening the length of the shower, and creating extra storage space from the placement of the new wall.
Preparing for Installation
- Shut off the water: If isolation valves are in place, the only place water is shut off is at the lines leading to the bathtub. If there are no isolation valves, then water may be shut off to the entire house. This can lead to urgency in project completion resulting in rushed performance and poor craftsmanship, so understanding the existing plumbing is essential in planning.
- Remove the tub wall surrounds: It is usually easier to remove all three tub wall surrounds and start with new material for a seamless fit so that leaks from seaming and patching never become an issue.
- Disconnect the plumbing: This is only performed once the water has been turned off. Remove the tub’s faucet, levers, and drain. It is best to replace old plumbing at this time, at least to the isolation valves if they exist, to ensure the integrity of your plumbing.
- Remove the tub: Newer tubs are constructed of more easily demolished materials, allowing for easier removal through doorways and tight spaces. If your tub is older or made of cast iron, removal typically occurs in one piece, which is bulky, heavy and can require modification to door framing for the removal process.
This is the point where inspecting the existing sub-structure and framing is critical. The wood framing and subfloor should be structurally sound and rot-free. The current structure and sub-flooring must be strong enough to support the new materials used for the new shower.
A team experienced in the replacement and management of mold, rot, and compromised material can easily identify any sources of weakness that can compromise the integrity of your project, often saving on cost in the long run by making the appropriate repairs.
Plumbing Proficiency
Plumbing is not just fitting parts together. Plumbing requires making sure those parts are joined in a way that leaking will not occur. Leaking pipes and drains are often the source of expensive repairs and rehabs in your home.
- Reposition the drain location to accommodate the new shower pan if necessary.
- Prepare the plumbing: The showerhead arm and shower faucet valve are secured to the framing, and upgrades to pipes are made at this time. The shower leavers and showerhead arm placement will differ significantly from the tub levers and faucet placement. Accurate measurements will secure a smoother installation from this point.
- Position the drain pipe: The drain pipe is placed before the shower pan installation. Precise measurements ensure an easy fit for the pan, with the drain pipe easily reaching the drain opening. The final adjustments to the drain pipe occur once the shower pan is installed.
Finalizing the Conversion
- Install the shower’s surround panels: Panels are installed by size, large to small. Start with the largest panel and end with the panel that will hold any levers along with the showerhead. Holes are drilled precisely to fit the faucet valves and showerhead. The panels are then secured to the wall framing according to instructions.
- Connect the drain: This step is carefully performed to prevent any leaking and possible damage to the sub-flooring beneath the shower pan.
- Attach the showerhead and leavers: following the manufacturer’s directions ensures proper fitting.
- Install the final touches: The shower will either have a door, privacy wall, or curtain. This decision will be made early in the process and guided by an expert to determine what suits your need, budget, and existing or modified framing and sub-flooring.
The Importance of Unseen Work
Some of the most critical work during a bathtub-to-shower conversion often goes unseen by the homeowner. This work is not something you see because the final product covers it. A trustworthy, knowledgeable company will ensure proper installation, whether the product is seen or unseen.
If not performed correctly, the critical structures beneath the beauty of your new shower can fail, creating damage to your home that is often undiscovered for years until the problem has reached a critical, costly level. Shortcuts will never produce a lasting product for your home, one of your most valuable assets.
Begin by Reaching Out
The first step in your tub-to-shower conversion is calling Bath Makeover by Capital, the top-rated, knowledgeable team serving Boston. We listen to what you want and offer design options to create a beautiful conversion within your budget. We keep in touch and keep you informed from start to finish, ensuring the transformation is the perfect upgrade to your home.
Recent Posts
Tub-to-shower conversions in Boston can give your bathroom a fresh, modern look and unlock many benefits without compromising style or functionality...
Home improvements have been on the rise in recent years, and one of the biggest trends we’re seeing is tub-to-shower conversions...
Built on Excellence & Superior Results
Featured Customer Review
Extremely professional service from start to finish. They did an amazing job on our bathroom and were available throughout the entire process! A commodity unfortunately not found in many contracting companies these days. My wife and I highly recommend Jacuzzi Bath Remodel. Matt our salesman was polite, professional, and down to earth. Our bathroom is a dream come true! We will definitely use them again.
PROFESSIONAL BATHROOM EXPERTS
Serving The New England Area
Maine
Massachusetts
New Hampshire
Rhode Island
Vermont

Contact Us
